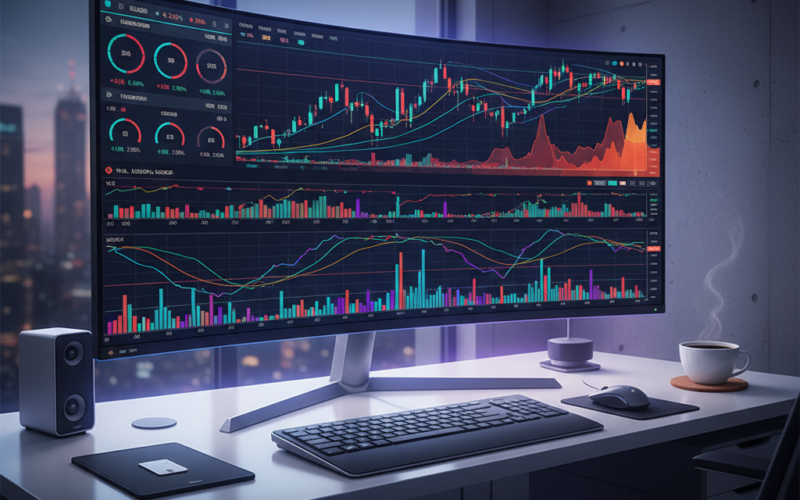
If you trade Forex on MetaTrader 5 (MT5) for more than a few weeks, you quickly realize one thing:
The default indicators are fine to learn, but they’re rarely enough to build a robust trading edge.
That’s where custom Forex indicators come in. They don’t magically turn you into a profitable trader, but they can help you visualize market structure, manage risk, and simplify decision-making in a way that default tools simply don’t.
In this article, we’ll go through 5 custom-style indicators that every MT5 trader should at least test:
- Trend Heatmap Indicator
- Multi-Timeframe Moving Average Pro
- Session High-Low Levels Indicator
- ATR Volatility Box & Adaptive Stops
- Trade Management Utility Panel
Each section includes:
- What the indicator does
- How it works (logic, not source code)
- How to actually use it in a strategy
- Pros & cons
- A quick configuration checklist
- Tables where helpful
You can treat this as a blueprint to code your own versions in MQL5 or to evaluate similar indicators you find online.
Why Custom Indicators Matter on MT5
Before we jump into the list, a quick reality check:
- MT5 comes with plenty of built-in indicators (MA, RSI, MACD, ATR, etc.).
- The math behind most custom indicators is not new.
- What changes is how information is presented so you can make decisions faster and with fewer mistakes.
Custom indicators help you:
- Combine multiple conditions into a single visual signal
- Automate routine analysis (sessions, highs/lows, volatility levels)
- Avoid “indicator spaghetti” – too many lines, too much noise
- Enforce rules: e.g. only trade with higher-timeframe trend, or only trade when volatility is sufficient
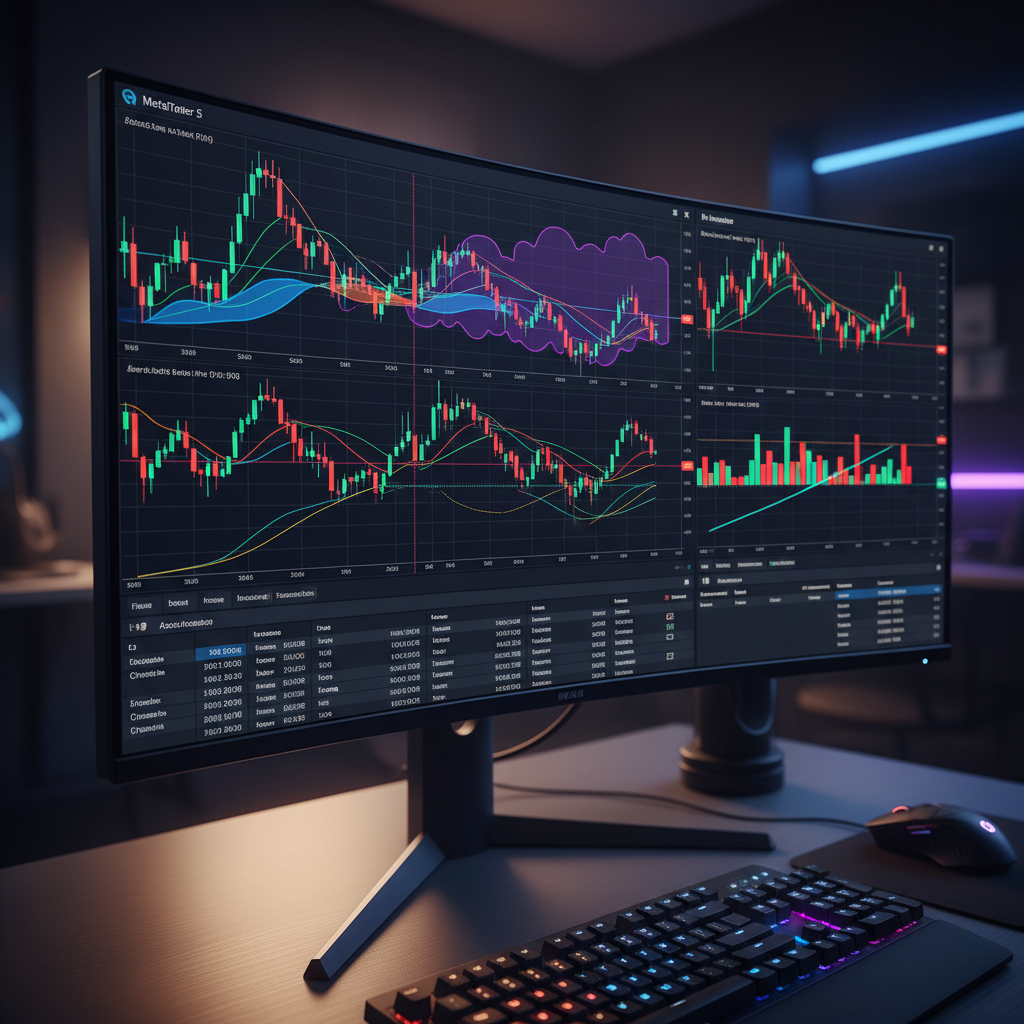
1. Trend Heatmap Indicator
What It Does
The Trend Heatmap is a dashboard-style indicator that shows the trend direction across multiple:
- Timeframes (e.g. M15, H1, H4, D1)
- Indicators (e.g. Moving Average, MACD, RSI, ADX)
All in a single compact panel at the bottom-right or bottom-left of your chart.
It answers the question:
“Is the trend aligned across timeframes, or am I trying to catch a counter-trend move in a messy market?”
Basic Logic (Example)
A typical Trend Heatmap might:
- Use a 50-period EMA on M15, H1, H4, D1
- Mark “UP” if price > EMA and the EMA is sloping up
- Mark “DOWN” if price < EMA and the EMA is sloping down
- Mark “NEUTRAL” if the slope is flat or price is near EMA
You can extend this with extra conditions:
- RSI > 55 → bullish filter
- RSI < 45 → bearish filter
- ADX > 20 → trend is “strong enough”
The indicator then maps all this to colored cells:
- Green → bullish
- Red → bearish
- Gray / neutral → no clear trend
Example Table – Trend Heatmap States
| Timeframe | EMA Condition | RSI Filter | ADX Filter | Heatmap Output |
|---|---|---|---|---|
| M15 | Price > EMA, EMA rising | RSI 60 | ADX 25 | Bullish |
| H1 | Price > EMA, EMA rising | RSI 58 | ADX 22 | Bullish |
| H4 | Price ≈ EMA, flat slope | RSI 52 | ADX 15 | Neutral |
| D1 | Price < EMA, EMA falling | RSI 42 | ADX 18 | Bearish |
In practice, you might only trade:
- Longs when 3+ timeframes are bullish
- Shorts when 3+ timeframes are bearish

How to Use It in Trading
Typical use cases:
- Filter trades: Only open trades in the direction of the majority of timeframes.
- Avoid chop: When the heatmap shows mixed colors, step aside or reduce risk.
- Scaling in: If M15 turns bullish first, then H1, then H4 – you might see a developing trend.
Example Trading Rule
“I only buy when at least 3 out of 4 heatmap timeframes are green, and I only sell when at least 3 are red. If timeframes are mixed, I wait.”
Pros & Cons
Pros:
- Very fast trend overview
- Helps newbies avoid trading against the dominant trend
- Reduces emotional trading (“it feels like it will reverse”)
Cons:
- Can lag – it’s still based on moving averages or similar tools
- Might give conflicting signals in sideways markets
- Over-optimization risk: adding too many rules into the heatmap
Checklist – Trend Heatmap Configuration
- Choose 3–4 timeframes (e.g. M15, H1, H4, D1)
- Select the primary trend indicator (EMA, MACD, etc.)
- Define what “bullish”, “bearish”, “neutral” means numerically
- Decide how you’ll use it (filter, entry timing, scaling)
- Backtest visually on charts before trusting it live
2. Multi-Timeframe Moving Average Pro (MTF MA Pro)
What It Does
MTF MA Pro plots higher-timeframe moving averages (e.g. H4 or D1) directly on a lower-timeframe chart (e.g. M15 or M30).
This gives you:
Higher-timeframe structure and dynamic support/resistance without having to switch charts.
Logic Overview
In MT5, you can use the iMA() function with a different timeframe than the current chart. The indicator:
- Requests, for example, D1 50-period EMA values.
- Projects that curve onto your current timeframe (M15) by mapping D1 candles to M15 time slots.
- Optionally colors the MA when slope changes (e.g. green uphill, red downhill).
Why It’s Useful
- Higher-timeframe MAs often act as strong support/resistance.
- Many institutional strategies pay attention to 50/100/200 MAs on H4/D1.
- You avoid the trap of trading M15 noise against a massive D1 level.
Example Table – MTF MA Pro Setup
| Parameter | Example Setting | Notes |
|---|---|---|
| Higher timeframe | H4 | Or D1 for swing trading |
| MA period | 50 | Popular institutional level |
| MA type | Exponential (EMA) | More responsive than SMA |
| Applied price | Close | Some use HL/2 or typical price |
| Slope coloring | On | Green↑, Red↓, Gray→ |
How to Use It
Common approaches:
- Bounce trades: Look for long entries near an upward-sloping higher-TF EMA, and short entries near a downward-sloping EMA.
- Trend validation: Only trade in the direction of the higher-TF MA.
- Stop placement: Keep SL beyond the higher-TF MA to avoid getting shaken out by minor noise (assuming reasonable risk).
Example Strategy Snippet
“On M15, I only buy when the H4 50 EMA is below price and sloping up. I only sell when the H4 50 EMA is above price and sloping down.”
Pros & Cons
Pros:
- Aligns you with higher-timeframe structure
- Reduces screen-flipping between charts
- Great trunk/”backbone” indicator for many strategies
Cons:
- Still lagging by nature (MAs)
- Can cluster price → price might “whip” around the MA
- If you blindly trade bounces, you can get crushed in real reversals
Quick Caution
Don’t worship the MA. Treat it as a context tool, not a signal generator on its own.
3. Session High-Low Levels Indicator
What It Does
The Session High-Low indicator draws:
- High and low of key sessions:
- Asian
- London
- New York
And optionally, the previous day’s high/low, previous week’s high/low, and the current daily open.
It answers:
“Where did liquidity accumulate recently, and where are the obvious stop zones?”
Logic Overview
For each session (e.g. London 08:00–17:00 server time):
- The indicator tracks the highest and lowest price within that time window.
- Plots horizontal lines on the chart.
- Optionally extends them until broken or until the next session.
- Adds labels like “LDN High”, “NY Low”, etc.
Example Table – Sessions & Times (Server-Dependent)
| Session | Approx. Start (UTC) | Approx. End (UTC) | Notes |
|---|---|---|---|
| Asian | 23:00 | 08:00 | Tokyo & Sydney overlap |
| London | 07:00 | 16:00 | Major volatility window |
| New York | 12:00 | 21:00 | Often strongest moves during LDN–NY overlap |
(You’ll adjust exact times to your broker’s server time.)
How to Use It
Typical patterns:
- Breakout trades:
- Price consolidates within Asian range → trade London breakout.
- Entry on break of Asian high/low with volatility filter (e.g. ATR).
- Reversion to session high/low:
- Strong trend day: pullbacks often respect previous session levels.
- Liquidity hunts (stop runs):
- Price spikes above previous session high, then quickly rejects → potential reversal setup.
Example Setup
“I mark Asian session high/low and look for London breakout in the direction of the higher-TF trend. SL beyond the opposite side of the Asian range, TP at 1R–2R or at next session level.”
Pros & Cons
Pros:
- Organizes price action into clear “zones”
- Helps understand daily rhythm and volatility windows
- Works well with both trend and mean-reversion systems
Cons:
- Not a system by itself – needs a clear entry model
- False breakouts are common (this is often where smart money trades)
- Timezone confusion if not configured correctly
Configuration Checklist
- Define exact session start/end times per your broker
- Decide which sessions you want to show (Asian/London/NY)
- Add option to show/hide previous day/week high/low
- Decide line style (solid, dashed, color per session)
- Backtest key pairs (EURUSD, GBPUSD, XAUUSD) visually
4. ATR Volatility Box & Adaptive Stops
What It Does
The ATR Volatility Box uses the Average True Range (ATR) to create:
- A volatility-based “box” around the price or daily open
- Dynamic suggestion for Stop Loss and Take Profit distances
- Visual warning when volatility is too low (no trade zone)
It answers:
“Is the market volatile enough to justify my target, and where should I place my SL/TP relative to current volatility?”
Basic Logic
- Calculate ATR (e.g. 14-period) on your main timeframe.
- Use multiples of ATR to define bands, for example:
- 1× ATR → “normal” fluctuation
- 2× ATR → typical intraday swing
- 3× ATR → extreme move
- Draw a box from a reference point (e.g. session open, daily open, or entry price).
Example Table – ATR Multipliers
| ATR Multiple | Use Case | Interpretation |
|---|---|---|
| 0.5× ATR | Micro stop / scalping | Very tight, high stop-out probability |
| 1.0× ATR | Standard intraday SL | Reasonable for many day trades |
| 1.5–2.0× ATR | Swing or volatile pairs | Better for news or fast markets |
| 3.0× ATR+ | Extreme volatility buffer | Often too big for normal risk per trade |
How to Use It
1. Position Sizing & Stop Placement
- If ATR is high → widen SL but reduce lot size.
- If ATR is low → tighter SL, but be careful with “dead” markets.
2. Trade Filters
- You can avoid trading when ATR is below a minimum threshold (e.g. ADR or ATR is at multi-week lows).
- You can boost confidence when ATR is in a “sweet spot” (not too low, not crazy high).
3. Targets
- For trend trades, a common approach is:
- SL at 1× ATR
- TP at 2× ATR (R:R = 1:2)
Example Risk Rule
“I risk 1% per trade with SL at 1.2× ATR(14). My TP is 2.4× ATR(14). I skip trades when ATR(14) is below 70% of its 3-month average.”
Pros & Cons
Pros:
- Makes stops and targets objective, not emotional
- Automatically adapts to changing volatility regimes
- Reduces over-trading in dead markets
Cons:
- ATR is lagging – after a spike, it stays elevated
- Too mechanical use can ignore real support/resistance
- Needs calibration per pair (XAUUSD vs EURUSD vs GBPJPY)
Simple Visual Idea
The volatility box can:
- Shade the “no trade” region when ATR is too low.
- Show recommended SL/TP bands as translucent rectangles around entry.
5. Trade Management Utility Panel
What It Does
Unlike pure “indicators”, the Trade Management Panel is a utility that:
- Provides buttons and controls directly on the chart:
- Partial Close (e.g. 50%)
- Move SL to Break-Even
- Activate Trailing Stop
- Close All / Close Profitable / Close Losing
- Shows key trade statistics in real time:
- Current open risk (in % or currency)
- Current floating P/L
- Average entry price for multiple positions
It answers:
“How can I manage my open trades consistently and quickly, without manually editing every order?”
Why It Matters
Many traders have an “okay” entry edge but lose money because of:
- Inconsistent trade management
- Panic closing winners too early, letting losers run
- Manual errors: wrong lot closed, wrong SL moved
The panel can enforce rule-based management.
Example Table – Panel Functions
| Function | Description | Use Case |
|---|---|---|
| Partial Close 50% | Closes half of position at market | Lock in some profit, let rest run |
| SL to Break-Even | Moves SL to entry price | After price moves X pips in your favor |
| Trailing Stop ON | Activates trailing stop logic | Trend days, long runners |
| Close All Profitable | Closes all trades with profit > 0 | Locking in equity after strong session |
| Risk Display | Shows total risk and floating P/L | Keep risk under daily or weekly limit |
How to Use It
You define rules such as:
- “When price hits 1× risk in profit, close 50% and move SL to BE.”
- “If daily profit exceeds 2%, close all trades and stop trading.”
The panel then makes it one-click to apply those rules instead of messing with each order.
Pros & Cons
Pros:
- Reduces manual errors
- Helps enforce discipline (fast, mechanical actions)
- Gives a “professional terminal” feel to MT5
Cons:
- Needs careful coding and testing (you don’t want wrong lots closed)
- Over-managing trades can still kill R:R if rules are too tight
- Not a signal tool – combines best with a solid entry system
Comparison Table – The 5 Custom Indicators
Here’s a quick overview to see how they complement each other:
| Indicator / Tool | Main Purpose | Best For | Type |
|---|---|---|---|
| Trend Heatmap | Multi-TF trend filter | Trend-following strategies | Indicator |
| MTF MA Pro | Higher-TF structure on lower TF | Swing & intraday traders | Indicator |
| Session High-Low | Liquidity zones & session ranges | Breakout & reversal traders | Indicator |
| ATR Volatility Box | Volatility-based SL/TP & filters | Risk & money management | Indicator |
| Trade Management Utility Panel | Rule-based open trade management | All strategies with manual input | Utility Panel |
Practical Tips for MT5 Traders Using Custom Indicators
1. Avoid Indicator Overload
A common mistake:
You install too many indicators and end up with a chart where you can’t even see price anymore.
Try this approach:
- Choose 1–2 “context” indicators (e.g. Trend Heatmap, MTF MA Pro).
- Choose 1 volatility / risk tool (e.g. ATR box).
- Choose 1 modifier tool (session levels or management panel).
That’s it. Your objective is clarity, not decoration.
2. Integrate Indicators into a Written Strategy
Don’t just “have” indicators. Write down:
- When exactly do I enter?
- What must the Trend Heatmap say (e.g. 3 green timeframes)?
- How far must price be from MTF MA Pro?
- Where is my ATR-based SL and TP?
- What management rules do I apply with the panel?
This transforms custom indicators from “nice toys” into parts of a system.
3. Backtest Properly (At Least Visually)
Before using any custom indicator live:
- Scroll back a few months or years on the chart.
- Simulate trades following your rules.
- Note:
- Hit rate
- R:R distribution
- How often indicators mislead you
You don’t need full statistical software at the start — a simple Excel or Google Sheet tracking is already a huge improvement.
4. Watch Out for Over-Optimization
If you tweak every setting (MA period, ATR period, thresholds) until the backtest looks perfect, you’re probably curve-fitting.
Rules of thumb:
- Prefer round numbers (e.g. ATR(14), MA(50), MA(200))
- Avoid hyper-specific parameters like MA(37), ATR(19) unless you have a strong logical reason
- Test on multiple pairs and timeframes — your idea should not break completely outside of one backtest window
5. Risk Management First
Even the smartest indicator can’t save a trader who:
- Risks 5–10% per trade
- Adds to losing positions without plan
- Keeps trading after hitting daily/weekly loss limits
Your trade management panel and ATR box can help a lot here, but they don’t change the basic reality:
Survival comes before profits.
Fun Little Curiosity: Why Traders Love Dashboards
If you look at many professional trading platforms and custom MT5 setups, you’ll notice something:
- Traders love dashboards and panels.
Why?
- Our brains are better at processing colors, simple icons, and compact summaries than raw numbers.
- A small panel telling you: “Trend: Bullish, Volatility: Normal, Risk Today: 0.7%” is more actionable than staring at 4 indicators and a bunch of candles.
Most of the indicators described above naturally lend themselves to dashboard-style UI:
- Trend Heatmap → multi-TF colored grid
- ATR Volatility Box → quick R:R display
- Management Panel → buttons + stats
If you’re designing your own custom indicators in MQL5, think information design, not just math.
Final Thoughts
Custom Forex indicators on MT5 are not magic bullets. But when designed and used intelligently, they can:
- Simplify the way you read charts
- Help you align with higher-timeframe structure
- Make your risk and trade management more consistent
From this article, you can:
- Implement your own Trend Heatmap
- Add higher-timeframe MAs into your intraday charts
- Mark session highs/lows and previous day/week levels
- Use ATR to size stops and targets more objectively
- Control your open trades with a utility panel
If you’d like, next we can:
- Turn one of these ideas into a detailed MQL5 indicator specification,
- Or outline a complete trading system that combines 3–4 of these tools into a single, rule-based strategy for MT5.